
We all want to emulate the pros, and one of the quickest and easiest ways to do so is to have fresh, clean handlebar tape. So instead of leaving your once pro-white bars dirty and dull, give your bike a boost with this simple step-by-step guide to wrapping handlebar tape like the pros.
Prepare your bars
Before you begin wrapping your bars they need a little preparation. Clean your bars so there is no sticky substances, dirt, grime, moisture, or anything else that will negatively affect wrapping the bars.
Once the handlebars are clean, secure the brake and gear cables to the bars with electrical tape. This will make the cockpit of the bike look clean and neat, and make it easier to wrap. Be sure in the process of taping down the cables, not to hinder any movement, this could obviously negatively affect the handling of the bike.
Pull back the hoods on the levers so that when you start wrapping you can access this area. Place some extra bar tape at the rear of the shifters, covering the shifter mount. This will ensure when you wrap around the area there are no gaps or parts of the bar showing through. Some companies will provide additional strips of bar tape so you won't have to cut any of the bar tape.
Wrapping the bars

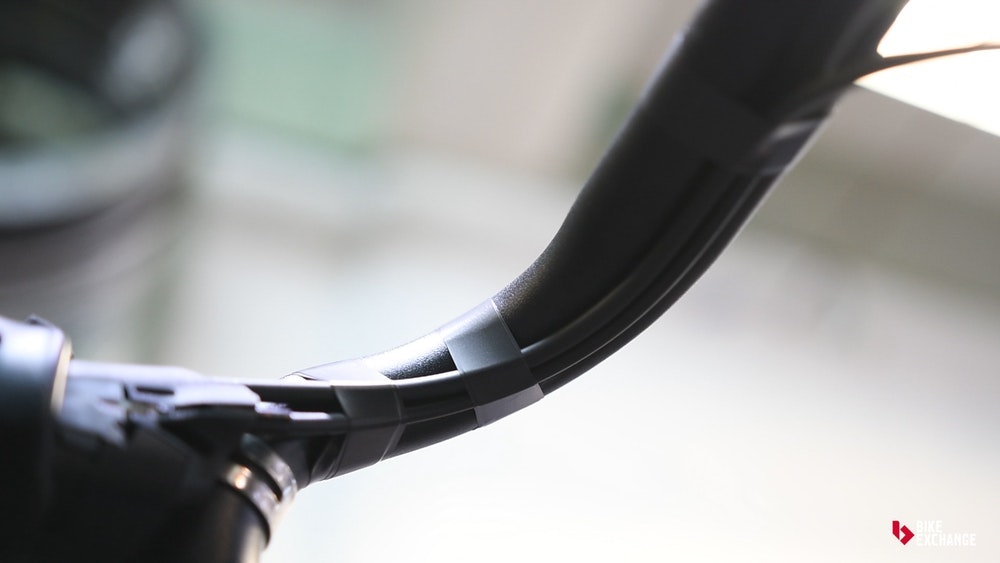
Starting at the end of the bars, create an overlap of approximately 1/3 of the bar tape. The overlap has to have enough length to be pushed into the end of the bars by the bar plug once the job is done.
Wrap the bar tape clockwise on the left-hand side and counter-clockwise on the right-hand side. This is so that when you grip the bar tightly, you are effectively tightening the bar tape instead of loosening it. If the tape is wrapped properly it shouldn't matter which direction you wrap. Issues with the bar tape coming loose will only arise if there is not enough tension on the bar tape when it is first wrapped.
As you wrap the bar tape, keep it tight the whole time and don't allow any loose sections or flaps. The bar tape should overlap by about half each time you go around the bar, or if your bar tape has a pattern or stitching, try to follow that so it is consistent on both sides. As you come to any bends in the bars the inside will obviously overlap by more than the outside.

When you arrive at the shifters, be sure to wrap the bar tape as close as possible to the shifters to avoid any gaps appearing when you return the shifter hoods to their original position. Most people will commonly wrap a figure eight around the shifters to ensure there are no gaps and the tape is firmly in place, this can, however, create a bulky feel when your hands are on the hoods, especially if you are wrapping with thick bar tape. Alternatively, you can continue to follow the current wrapping pattern, ensuring you wrap the bar tape as closely as possible to the shifters. This one is up to personal preference.
Once this part of the bar is done, you can either put the hoods back into their original position or wait until the job is complete. Returning the hoods to their position on the bars at this point will show you if there are any gaps or issues with your wrapping job. Obviously waiting until the end to do this could leave you with some additional work to do.
If you have sprint shifters you will need to create a little hole in the bar tape to allow the shifter to be accessible. The best way to create this whole is with a leather punch, but you can use scissors if you don't have these handy.
Keep wrapping the bars until you are satisfied they have covered enough of the handlebar. For some, this could be until the graphic logo, for others this will mean wrapping all the way to the stem.
- Keep in mind if you have computer mounts or lights on your bars, a standard mount may not fit around the bar tape, so it might pay to leave some space unwrapped to mount these devices.
Get a nice finish

Once you have finished, use your scissors to cut the bar tape perpendicular to the bar, keeping the same angle on the bar tape so you have a nice straight finish. Once that is done, secure the bar tape with the electrical tape to hold it in place.
To avoid you having to take your hands off the bars at this stage and cutting electrical tape, cut two strips of electrical tape and hang them from the stem before you start wrapping.
The electrical tape will be stretched when you use it to secure the bar tape. Over time it will shrink back to its original shape and potentially leave adhesive on your bars and make them look second rate. To avoid this, once you have wrapped the bar, let the electrical tape settle for a few minutes. This will allow the electrical tape to relax back into shape. Once it has done that, stick down the final piece of bar tape.
The final thing to do is insert the bar plugs, making sure you tuck in the overlapping bar tape with it. If you haven't already, pull down the hoods on the shifters and you are ready to go.
Go for a ride and admire your fine work.
What are the differences in double wrapping your bar tape?
Double wrapping bar tape is common for pro riders when riding 'Classics' or on rough roads. Double wrapping your bars provides additional comfort and can prevent your hands from going numb by absorbing vibration from the road. If you are going to double wrap your bars, here are the basic things you need to know.
The first line of bar tape needs to be very tight and clean before applying the second wrap.
Trim both ends of the existing bar tape to make securing the bar end plugs and applying electrical tape easier. Make sure you keep some part of the existing bar tape tapped down otherwise it will come loose.
The process for applying the second round of bar tape is the same as the first.
Bike Hack: Another way to add some comfort to your handlebars is to use an inner tube underneath your bar tape as an extra layer of shock absorption.
Follow BikeExchange: Email | Facebook | Twitter | Instagram | YouTube


